Top Techniques for Enhancing Audio Clarity in Spoken Word Recordings
Clear audio is essential when recording spoken word messages. Whether you are creating podcasts, voiceovers, audiobooks, or instructional content, poor audio quality can distract listeners and reduce the impact of your message. Achieving crisp, understandable sound requires attention to several key factors during recording and post-production. This article explores practical ways to improve audio clarity so your recordings sound professional and engaging.

Choose the Right Microphone and Setup
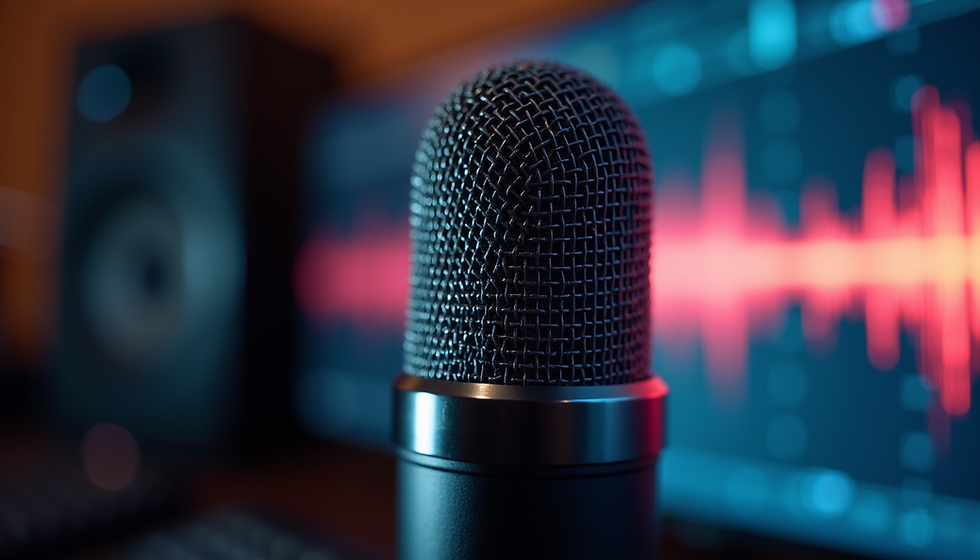
The microphone you use plays a major role in capturing clear audio. Condenser microphones are popular for spoken word because they pick up a wide frequency range and detail. Dynamic microphones are less sensitive but can work well in noisy environments.
Position the microphone about 6 to 12 inches from your mouth to avoid distortion and plosives (hard “p” and “b” sounds).
Use a pop filter or windscreen to reduce harsh bursts of air hitting the microphone.
Record in a quiet room with minimal background noise. Soft furnishings, carpets, and curtains help absorb sound reflections.
Control Your Environment
Background noise and room acoustics greatly affect clarity. Even the best microphone cannot fix a noisy or echoey space.
Choose a small, quiet room with minimal hard surfaces.
Add acoustic treatment such as foam panels, bass traps, or heavy blankets on walls.
Turn off fans, air conditioners, and other appliances during recording.
Close windows and doors to block outside noise.
Use Proper Recording Techniques
How you speak and record impacts the final sound quality.
Speak clearly and at a steady pace.
Maintain consistent distance from the microphone.
Avoid sudden movements or handling noise near the mic.
Record multiple takes to capture the best performance.
Optimize Recording Settings
Adjusting your recording software and hardware settings can improve clarity.
Set the sample rate to at least 44.1 kHz and bit depth to 16-bit or higher.
Avoid recording at too high input levels to prevent clipping and distortion.
Use a low noise preamp or audio interface to boost signal without adding hiss.
Monitor your recording with headphones to catch issues early.
Edit and Clean Up Audio
Post-production is where you can polish your recording for maximum clarity.
Use noise reduction tools to remove background hiss or hum.
Apply equalization (EQ) to reduce muddiness and enhance vocal presence. For example, cut frequencies below 80 Hz to remove rumble and boost 3-6 kHz for clarity.
Compress the audio gently to even out volume levels without squashing dynamics.
Remove breaths, clicks, and other distracting sounds manually or with editing software.
Use High-Quality Playback Equipment
Listening to your recordings on good speakers or headphones helps you identify clarity issues.
Avoid cheap earbuds or laptop speakers during editing.
Test your audio on multiple devices to ensure it sounds clear everywhere.
Practice Consistency and Preparation
Consistent recording conditions lead to better clarity over time.
Prepare scripts or notes to reduce filler words and hesitations.
Warm up your voice before recording.
Keep microphone placement and settings the same for each session.


Comments